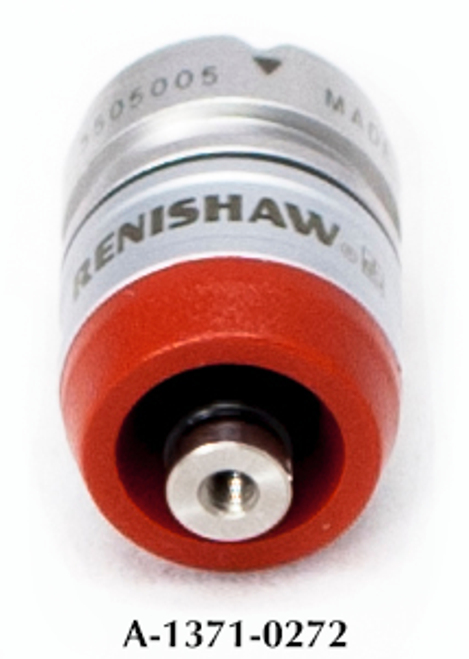
Renishaw SFP2 Surface Finish Probe for the REVO System
The REVO® SFP2 makes surface finish inspection an integral part of your CMM measurement procedure.
Surface Finish / Surface Roughness Measurement
Surface finish measurement has traditionally involved the use of hand‑held sensors or has required for the part to be moved onto a dedicated measuring machine. The REVO multisensor system changes all this, making surface finish inspection an integral part of your CMM measurement and enabling you to switch between scanning and surface finish measurement. This unique capability allows the surface finish analysis to be fully integrated into a single measurement report.
Powered by 5-axis measurement technology, the SFP2's automated surface finish inspection offers significant time savings, reduced part handling and greater return on CMM investment.
The SFP2 System – Features and Benefits:
The SFP2 system consists of a probe and a range of modules, which are automatically interchangeable with all other probe options available for REVO, providing the flexibility to easily select the optimum tool to inspect a wide range of features, all on one CMM platform. Data from multiple sensors is automatically referenced to a common datum.
- Surface finish measurement is fully integrated with the standard CMM inspection program thanks to the automatic changing of the SFP2 probe and stylus holders using the MRS-2 rack and RCP TC-3 ports.
- The SFP2 probe takes advantage of the infinite positioning and 5-axis movement capability of the REVO-2 head.
- Access to the most difficult to reach features is provided by an integral probe C-axis, coupled with various tip geometries and a knuckle joint between module and holder.
Probe Characteristics
- SFP2 is a skidded probe with a 2 μm radius diamond stylus tip. The skid is held against the surface with a controlled force of approximately 0.2 N whilst the stylus tip force is 0.005 N.
- Each module has a unique geometry as well as a knuckle joint that allows the angle between the surface finish holder (SFH) and the surface finish module (SFM) to be chosen within a range of 180°, using the module setting tool (MST).
- SFP2 can be used in bores as small as 5 mm (0.2 in) diameter.
- Surface measurement capability: 6.3 μm to 0.05 μm (250 μin to 2 μin) Ra.
- Output: Ra, RMS and raw data are returned from UCCserver to the metrology application client software using the I++ DME protocol. The raw data can subsequently be presented to specialist surface analysis software packages for further detailed reporting.
- Sensor calibration involves measuring the surface finish of the surface finish calibration artefact (SFA) that is mounted on the MRS-2 rack. The calibration software automatically adjusts the probe output in accordance with the calibrate value of the artefact.
- The SFP2 includes an integral motorised C-axis that enables surface finish measurements to be made at all required orientations around a part.


