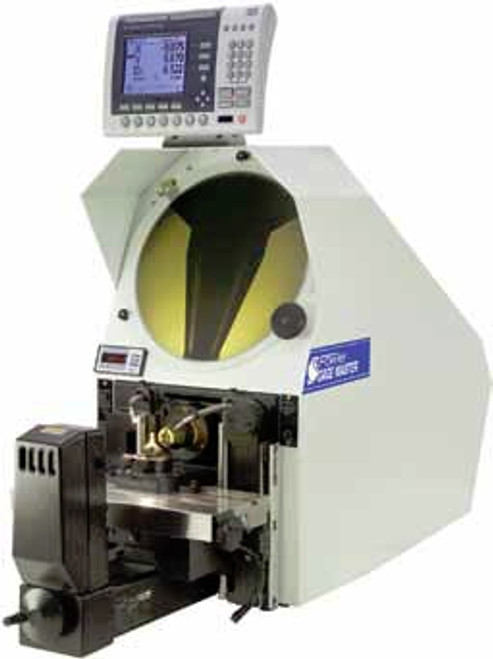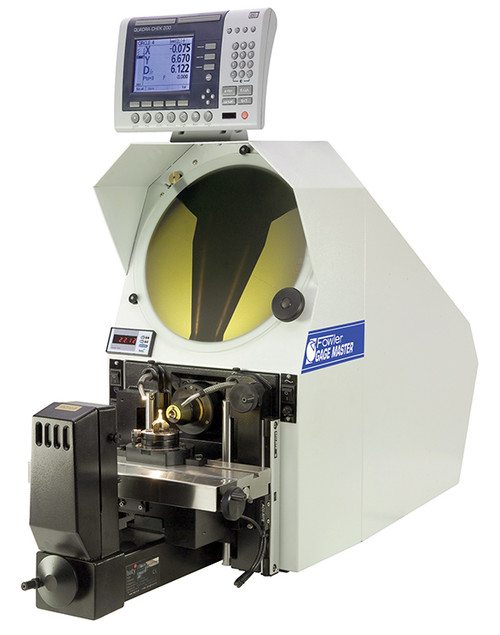
Fowler Gage Master Profile Projector
The Fowler bench mount profile projector with its 340mm screen combines high accuracy non-contact measurement and inspection with a large 175mm x 100mm measuring range.
Choice of digital readouts and optional automatic profile edge detection. The horizontal light path configuration is ideally suited to machined parts that can be secured to the workstage using a range of optional accessories. The compact and robust lightweight chassis makes the profile projector ideal for workshop environments.
Measuring options
XLS: A simple 2 axis digital readout for X&Y measurement
GXL: Incorporates geometric functions for skew alignment, angle radii measurement, pitch circle diameter and construction of intersect points etc.
GXL-E: As GXL with screen mounted automatic profile edge sensor. As an option the sensor can be fitted internally.
Fusion 2: PC based measuring system with full geometric functionality. Graphical view of measured part can be printed as fully dimensioned drawing with geometric tolerances. Other graphics include form error and SPC charts. Full reporting capability includes tabulated details with pass / fail analysis, auto-link to Excel™ and auto sequence programming feature. Can be supplied as software only for self installation or as a complete system.
Fusion 2-E: As Fusion but supplied with screen mounted automatic edge detector. As an option the sensor can be fitted internally.
QC3-CNC: 2 axis touch screen display with external edge detection. Full CNC control allows automatic part inspection. Integral joystick for manual (motorized control).
Features
• 340mm (14") screen with 90°crosslines and chart clips
• Profile illumination with halogen lamp and green filter
• Lens magnification choice: x10, x20,x25, x50 and x100
• Surface illumination (fibre optic)
• Helix adjustment of light source ± 7° for accurate thread form projection
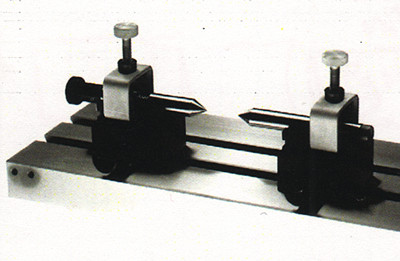
• Workstage with machined slot for holding accessories
• Workstage measuring range of 175mm (7") x 100mm (4")
• Digital angle measurement to 1 minute
Optional features
• Internally fitted automatic edge sensor (illustrated)
• Swing over lamphouse to allow clear access to the workstage
• Various electronic measuring systems to suit individual requirements
• Cabinet stand ensures a solid base and provides storage
• Other options include foot switch control and printer
Basic Machine
Type: Bench standing with horizontal light path
Screen: Rotating 340mm diameter, inclined 75° to horizontal, with hood
Image: Inverted and reversed
Power supply: 220 / 240 volt 50Hz or 110 volt 60Hz
Weight: 60kg (132lb)
The basic model consists of:
• 340mm diameter translucent screen with chart clips
• Digital angle measurement, with 1 minute of arc resolution
• Profile illumination with fan cooled lamphouse
• Surface illumination
• Focussing single lens mount
• x10 magnification lens
• Collimation lens
• Helix adjustment
• Machine slotted, chrome plated, cast iron workstage
• Green filter
Workstage
Measuring range: • Horizontal (X) axis travel 175mm (7")
• Vertical (Y) axis travel 100mm (4")
Surface area: 325mm (12.8") x 100 (4") with slot for mounting accessories
Scale resolution: 0.0005mm
Movement: Manual with fine screw adjustment, quick release on X axis
Optical System
Lens mount: Single, screw clamping
Lens magnification: x10, x20, x25, x50, x100,
Focussing: By hand wheel
Magnification accuracy: Profile 0.05%. Surface 0.1%
Helix adjustment: ± 7° by light source alignment
Light source: • Profile illumination 12v 100w lamp (tungsten halogen)
• Surface illumination 12v 100w lamp (tungsten halogen)
Option: Internally mounted edge sensor


