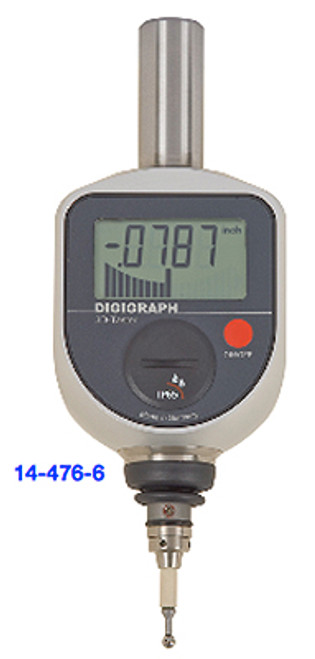
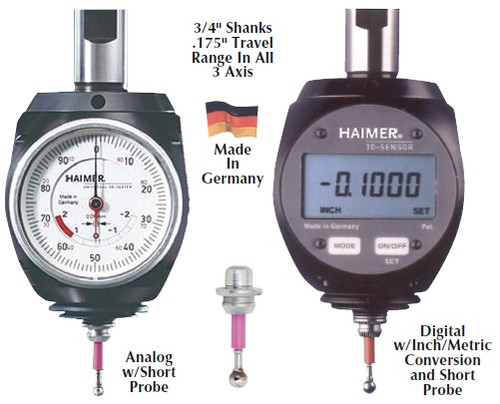
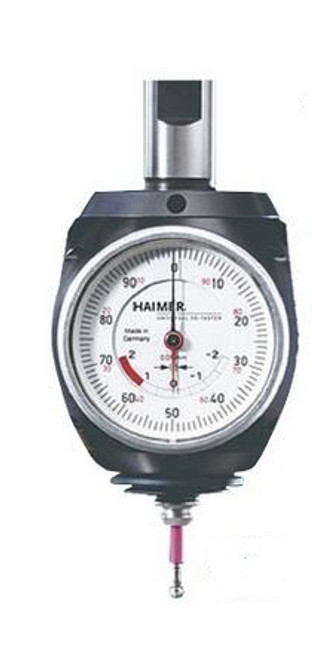
Eliminates Tedious Trial and Error Measurements
Advanced concept in finding zero, the true starting point of all 3 axes (X, Y, Z) on workpieces.
Probe gets deflected in any of the 3 axes until indicator reaches centerline. At this point the workface (edge) is in a direct true line with the spindle.
Radial run-out compensation! Two adjustment screws in the x and y axis to align center of the stylus to the center of the spindle axis.
Contact point is electronically insulated for safe applications on all CNC Centers and EDM machines, water proof.
Graduation reference lines 0.01mm. (0.004")
Accuracy in any direction 0.01mm (.0004")


