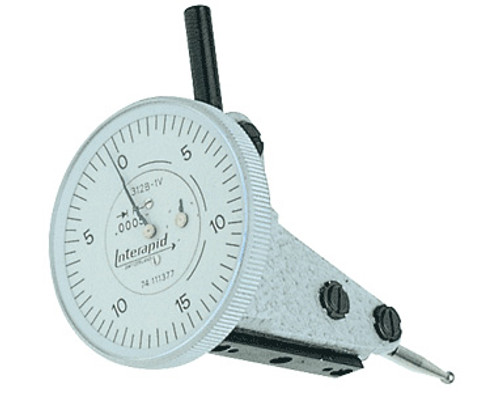
Compac Dial Test Indicator, Vertical, 0.120" Range - 213LA

Essential for the workshop, but also in the inspection room and laboratory - Ideal for comparative measurement on a surface plate - Detect form and position errors - Measure axial and radial runouts, especially.
Features:
- Reversible action contact point without lever
- Clockwise hand rotation even in reverse
- Standard contact point with tungsten carbide ball
- Easy point replacement, without adjustment
- Wide Range
- Made in Switzerland
- Main pivot on oversized self-adjusting angular contact bearings
- Dovetails are machined directly on the indicator
- Automatic clutch reversal
- Body and dial ring dull chrome plated
- Easy to read dial face rotates 360˚
- Unaffected by magnetic fields used in ordinary mechanics
Specifications:
| VERTICAL SERIES - WIDE RANGE | |||||
| Model | Graduation | Total Range | Travel per Revolution |
Dial Face | Point Length |
| 213LA | 0.0005" | 0.120" | 0.020" | 1.063" | 1.44" |
| Reference | 213LA |
| Designation | COMPAC dial test indicator, horizontal model |
| Repeatability limit, in | 0.00015 |
| Hysteresis, in | 0.00025 |
| Travel / revolution, mm | 0.04 |
| Measuring range, in | 0.12 |
| Analogical scale interval, in | 0.0005 |
| Short designation | TEST IND HRZ .0005X.12X1.063IN |
| Circular scale | 0÷20÷40 |
| Dial, Ø in | 1.063 |
| Measuring force, N | ≤ 0.20 |
| EDP | 27706 |
| Designation (marketing doc.) | COMPAC horizontal |
| Maximum permissible errors, in | 0.0001 |
Supplied with .080" Carbide Contact Point, 2 Dovetail Stems in Fitted Case and Inspection Report With Declaration Of Conformity
See all Compac Dial Test Indicators
Compac Dial Test Indicator


